
# 3. Add database
Now that we have everything set up for our application code and deployment, we can go on with the more serious stuff and add a database instead of using hardcoded data.
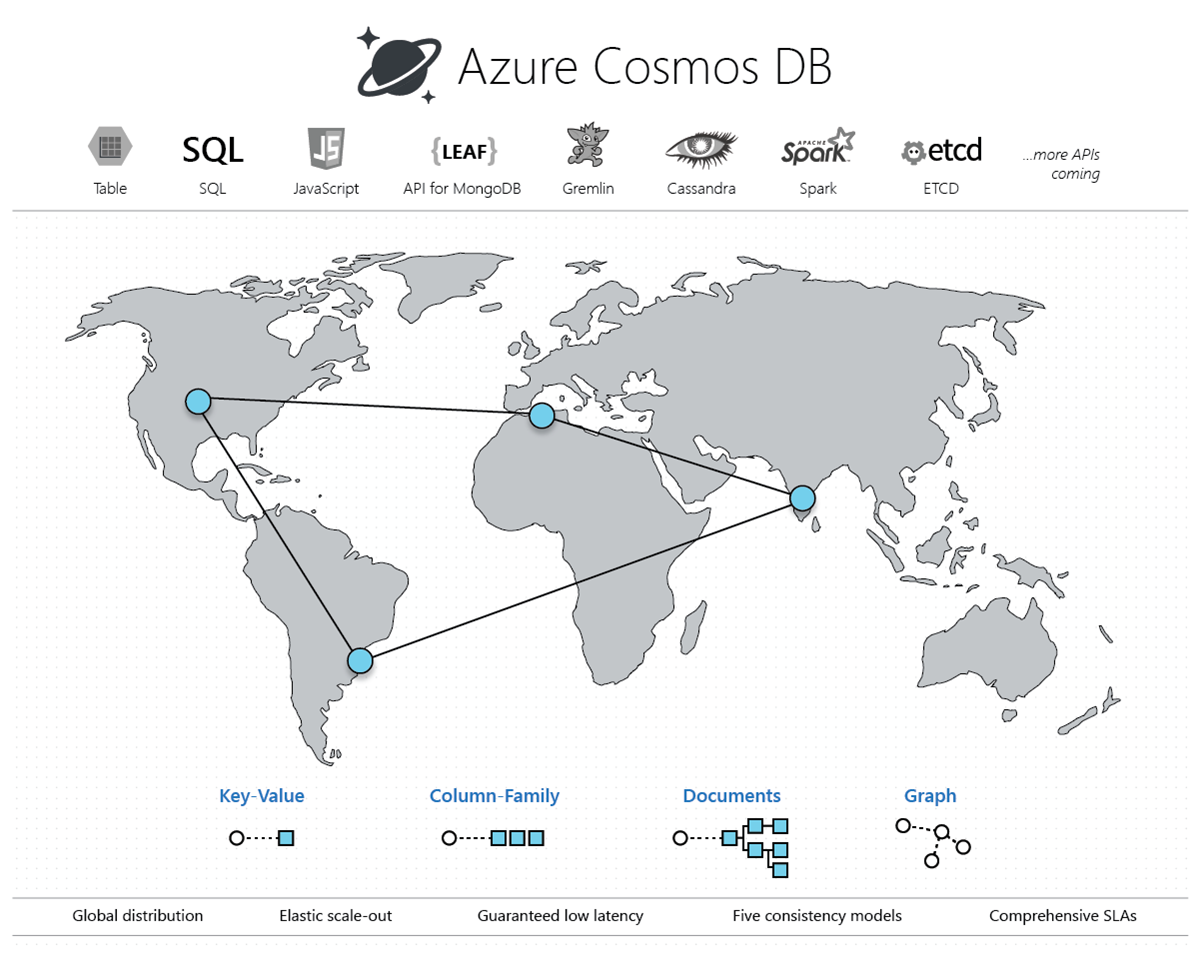
# Configure Cosmos DB
Cosmos DB is a managed distributed NoSQL database that will allow you to save and retrieve data. It supports multiple data models and many well known database APIs, including MongoDB that we will use for our application.
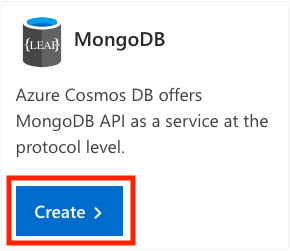
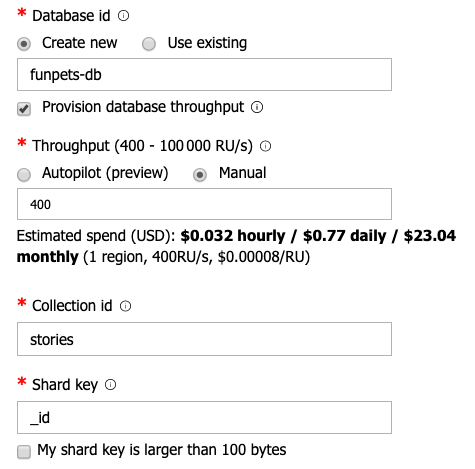
First we have to create a Cosmos DB account, which can hold one or more databases.
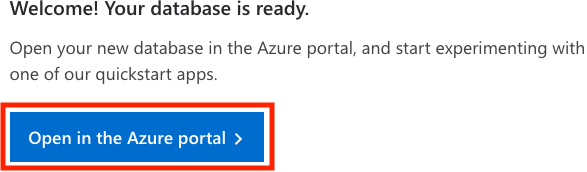
If you are attending this workshop with an instructor or if you are short on time, you should use the first option Use trial account. The second option allows you to create a new account, which is a bit longer.
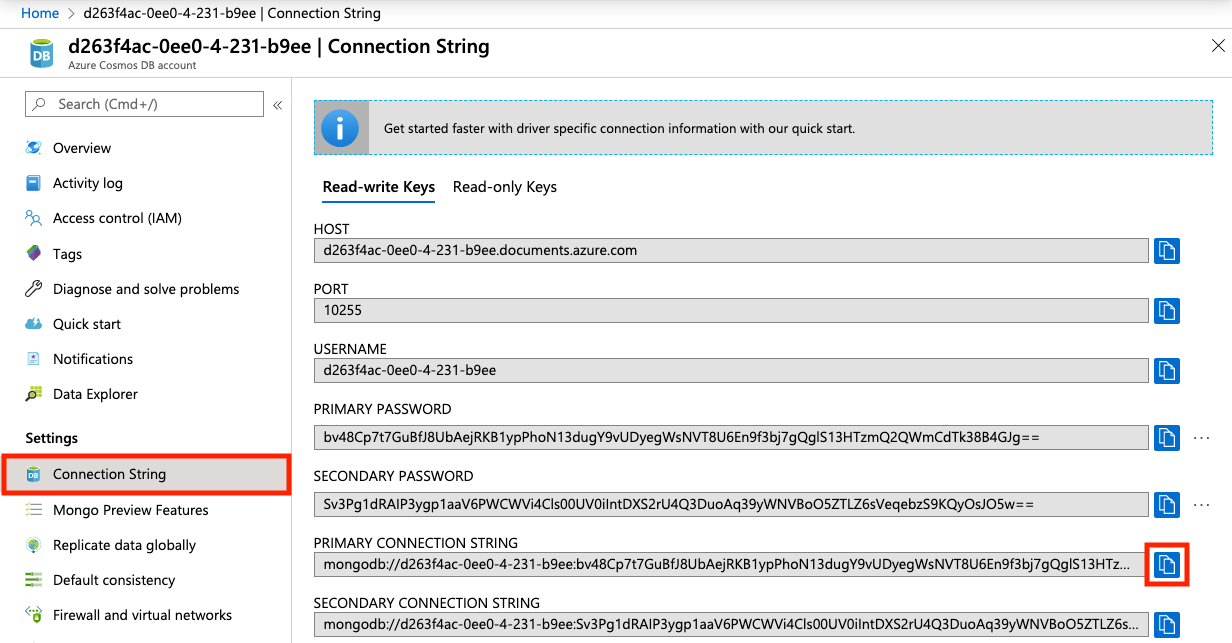
Now edit the file local.settings.json, and add these properties to the Values list:
"MONGODB_CONNECTION_STRING": "<your primary connection string>",
"MONGODB_DATABASE": "funpets-db",
Remove this line as it's not needed:
"AzureWebJobsStorage": "",
These values will be exposed to our app as environment variables by the Functions runtime, to allow access to your database.
# Integrate with NestJS
You are now ready to use the database in your application. NestJS provides a great integration with TypeORM which is the most mature Object Relational Mapper (ORM) available for TypeScript, so we will use that.
First, you have to install the a few more packages with this command:
npm install --save @nestjs/typeorm typeorm mongodb
Open the file src/app.module.ts and add TypeOrmModule to the module imports:
@Module({
  imports: [
    TypeOrmModule.forRoot({
      type: 'mongodb',
      url: process.env.MONGODB_CONNECTION_STRING,
      database: process.env.MONGODB_DATABASE,
      entities: [
        __dirname + '/**/*.entity{.ts,.js}',
      ],
      ssl: true,
      useUnifiedTopology: true,
      useNewUrlParser: true
    }),
    ...
  ]
Don't forget to add the missing import at the top:
import { TypeOrmModule } from '@nestjs/typeorm';
Pro tip
Using process.env.<VARIABLE_NAME> in place of hardcoded values allows to keep sensitive informations out of your code base and read them from environment variables instead. This also allows you to deploy the exact same code on different environments (like staging and production for example), but with different configurations, as recommend in the 12-factor app best practices.
TypeORM will discover and map your entities following the *.entity.ts (.js once compiled) naming scheme, as specified in the module options.
But hey, we don't have an entity yet? That's right, let's create it!
# Create an entity
A database entity is used to model the properties of whatever object you would like to store. In our case, we would like to store fun pets stories, so let's create define a Story entity.
Create a new file src/stories/story.entity.ts with this code:
import { Entity, ObjectID, ObjectIdColumn, Column } from 'typeorm';

@Entity('stories')
export class Story {
  @ObjectIdColumn() id: ObjectID;
  @Column() animal: string;
  @Column() description: string;
  @Column() imageUrl: string;
  @Column() createdAt: Date;

  constructor(story?: Partial<Story>) {
    Object.assign(this, story);
  }
}
Now let's break down the annotations we have used:
@Entitymarks the class as a TypeORM entity to be stored into thestoriescollection.@ObjectIdColumnmarks the unique identifier of an entity that will be mapped to the mandatory MongoDB_idproperty. It will be automatically generated if you don't provide one.@Columnmarks the properties you want to map to a table column. The type of property will also define the type of data that will be stored.
Note
For more complex domain models you can define subdocuments using simple type references, see this example for usage information.
# Inject the repository
TypeORM supports the repository design pattern, and @nestjs/typeorm package provides you an easy way to declare repositories you can inject for each of your entities.
Open the file src/app.module.ts again and add this to the module imports:
@Module({
  imports: [
    TypeOrmModule.forFeature([Story]),
    ...
  ]
Now you can inject your Story repository using the annotation @InjectRepository. Open the file src/stories/stories.controller.ts and add this constructor:
@Controller('stories')
export class StoriesController {
  constructor(
    @InjectRepository(Story)
    private readonly storiesRepository: MongoRepository<Story>,
  ) {}
  ...
}
Don't forget to add these missing imports at the top of the file:
import { InjectRepository } from '@nestjs/typeorm';
import { MongoRepository } from 'typeorm';
import { ObjectID } from 'mongodb';
import { Story } from './story.entity';
You can now use this.storiesRepositoy within your controller to perform CRUD operations:
save(entity: PartialEntity<Entity> | PartialEntity<Entity>[], options?: SaveOptions): Promise<Entity | Entity[]>: inserts one or more entities in the database if they do not exists, updates otherwise.findOne(criteria?: ObjectID | FindOneOptions<Entity>): Promise<Entity | undefined>: finds the first entity matching an ID or query options.find(criteria?: FindManyOptions<Entity>): Promise<Entity[]>: finds all entities that match the specified criteria (return all entities if none is provided).update(criteria: ObjectID | ObjectID[] | FindConditions<Entity>, partialEntity: PartialEntity<Entity> | PartialEntity<Entity>[]): Promise<UpdateResult>: updates entities matching the specified criteria. It allows partial updates, but does not check if entities exists.delete(criteria: ObjectID | ObjectID[] | FindConditions<Entity>): Promise<DeleteResult>: removes one or more entities matching the specified criteria from the database. Does not check if entities exists.
In all these methods, you can either use the entity ID or a regular MongoDB query to match specific entities. For example, you can use:
// Find all cats stories
await this.storiesRepository.find({ animal: 'cat' });

// Find the story with the specified ID
await this.storiesRepository.findOne(id);
# Add new endpoints
Now you have everything needed to create new endpoints to create and get stories:
GET /stories/:id  // Get the story with the specified ID
GET /stories      // Get all stories
POST /stories     // Create a new story
Let's start with the first one, to retrieve a single story using its ID. Add this method to your controller:
@Get(':id')
async getStory(@Param('id') id): Promise<Story> {
  const story = ObjectID.isValid(id) && await this.storiesRepository.findOne(id);
  if (!story) {
    // Entity not found
    throw new NotFoundException();
  }
  return story;
}
We use the @Get() annotation like in Step 1, but this time we add a route parameter using :id.
This parameter can then be retrieved with the function arguments using the @Param('id') annotation.
Then we call the storiesRepository.findOne() method to find the matching entity. In case it's not found or if provided ID is invalid, we return a status 404 error using NestJS predefined exception class NotFoundException.
After that, it's time for you to work a bit by yourself to add the 2 remaining endpoints 😉.
Note
For the create endpoint, if the property createdAt is not set, it should be added with the current date.
If you're stuck, you may find some help in the NestJS documentation and the TypeORM documentation.
# Test your endpoints
After you finished adding the new endpoints, start your server using the functions emulator:
npm run start:azure
When the server is started, you can test if your new endpoints behave correctly using curl:
curl http://localhost:7071/api/stories
# should return an empty list: []

curl http://localhost:7071/api/stories/0
# should return 404 with an error

curl http://localhost:7071/api/stories \
  -X POST \
  -H "content-type: application/json" \
  -d '{ "animal": "cat", "description": "Cats have supersonic hearing" }'
# should return the newly created story

curl http://localhost:7071/api/stories
# should return a list with the previously added story

curl http://localhost:7071/api/stories/<id_from_post_command>
# should return this single story
# Explore your data
As you should have created some stories at this point, why not take a look at the data you have directly in the database?
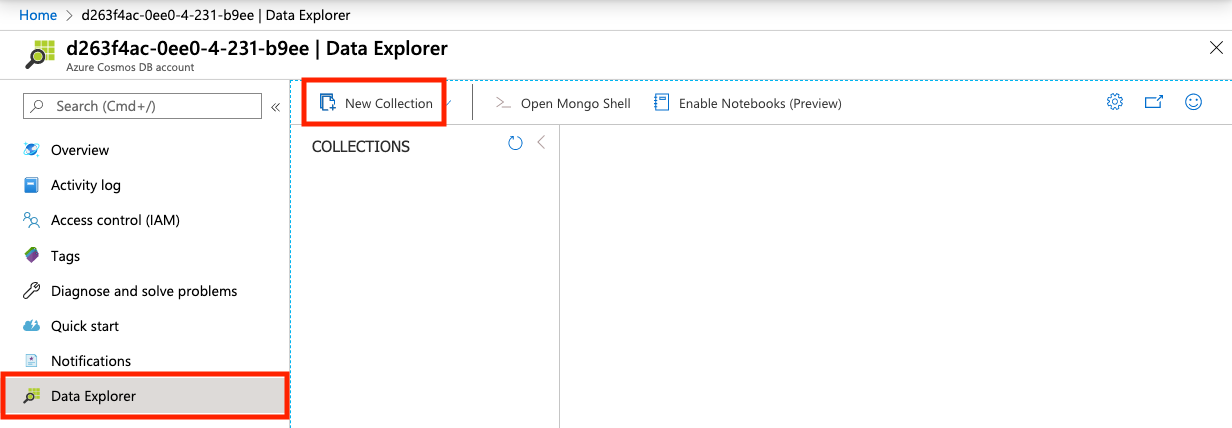
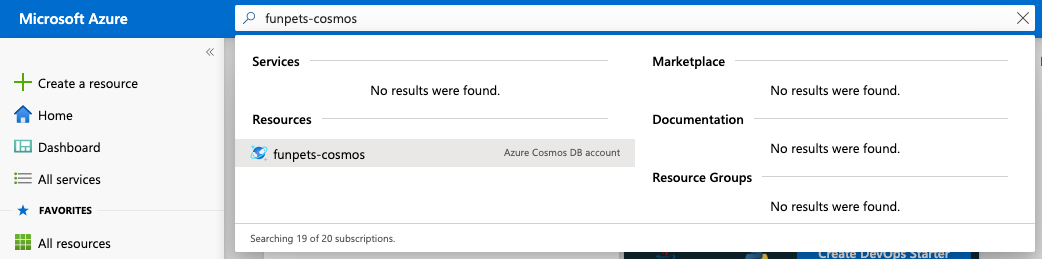
You can either use the standalone Storage Explorer application for that, or go to the Azure portal and access the online version.
We only want to give a quick look, so let's use the online version:
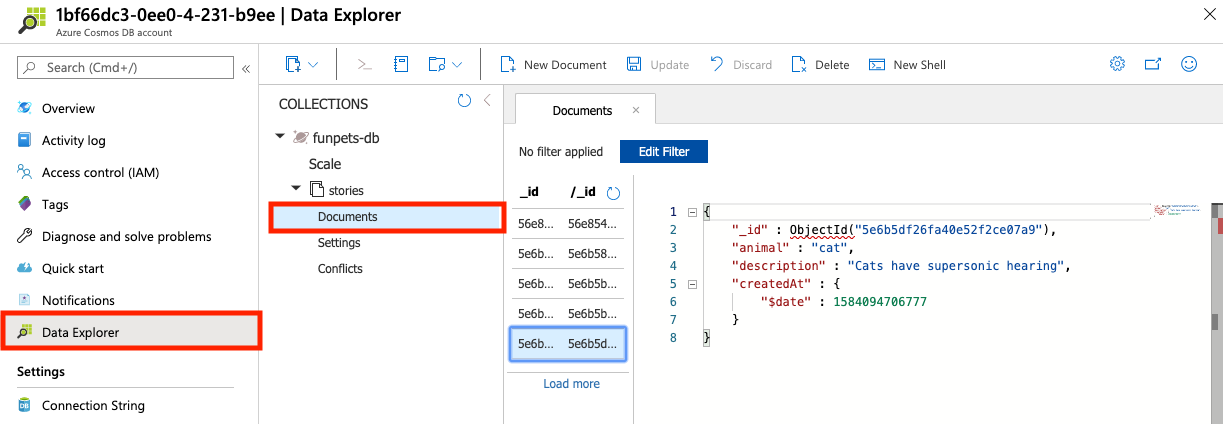
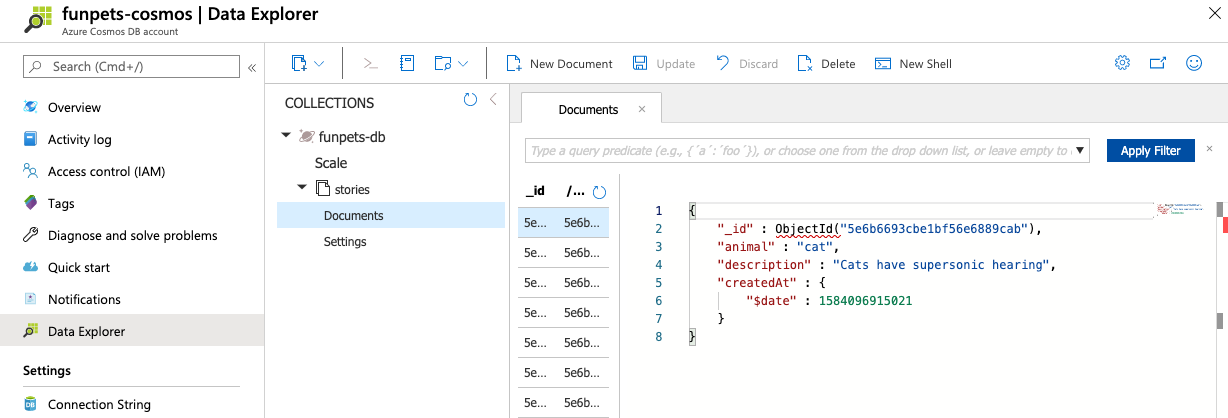
From there, you can query your stories, edit or delete them and even create new ones. This tool can be helpful to quickly check your data visually and debug things when something's wrong.
# Redeploy
Now that everything works locally, let's deploy your latest changes:
# Build your app
npm run build

# Create an archive from your local files and publish it
# Don't forget to change the name with the one you used previously
func azure functionapp publish funpets-api \
  --nozip \
  --publish-local-settings
Notice that this time we added the --publish-local-settings option to update the
Then invoke one of the newer API to check that deployment went fine:
curl https://<your-funpets-api>.azurewebsites.net/api/stories
Solution: see the code for step 3