# Conclusion
Congratulations, you just built your own serverless API! ⚡️💪
Now that you master the basics of NestJS you can go wild and build just about anything, the sky is the limit (or more realistically, the cloud 😉).
# Wrapping up
Let's recap what you just did:
- You bootstrapped a new NestJS server, created an API and prepared for serverless deployment.
- You connected your API with a Database and added CRUD endpoints.
- You added support for file upload, storing images in the cloud.
- You provisioned Azure resources and deployed your app on it.
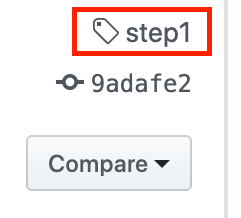
The finished source code example of every step can be found here on GitHub, if you missed something or want to check your solution. You can also directly navigate the code on GitHub by clicking on the tag name in the left section of the release:

I hope you enjoyed this workshop!
You can follow me on Twitter for more content, and I would be happy to discuss and get your feedback.
Don't hesitate to share this workshop if you liked it ⤵️
# Reference links
Here is the list of everything we used in this workshop, as a reference:
- Node.js as the base platform for everything
- NestJS with @nestjs/azure-func-http for the backend
- TypeORM with @nestjs/typeorm for mapping entities with the database
- Azure Functions for API deployment
- Azure Cosmos DB for the database
- Azure Storage to host the website
- Azure CLI to manage resources
- Azure Functions Core Tools to test and deploy your backend
You should also take a look at Hexa, a great CLI companion to create and deploy resources on Azure interactively.
